Family Memory Preservation · Pillar Guide
For most home collections, a flatbed scanner at 600 DPI is the right answer. A phone app is fine for tiny jobs. A mail-in service is the smarter call for very large or mixed-media collections, and for photos inherited as part of an estate.
This guide explains why, walks through each DIY method honestly, and tells you when to stop trying to do it yourself.
Updated April 2026 · DIY-first · Independent editorial
Most of the writing on this topic treats every method as equally good. It isn't. For a few hundred prints in a closet box, a flatbed scanner is the right tool and a phone app is not. For thousands of mixed slides and tapes, DIY is a project that quietly never finishes. The right method follows the shape of your collection.
This is a DIY-first guide. It tells you when a phone is enough, when a flatbed scanner pays for itself, when a camera setup is worth the trouble, and when a mail-in service is the only sensible answer. After that, it covers how to organize photos before scanning and how to back up the result so the archive actually outlives the drive it sits on.
Quick Answer
The short version
- Best for most people
- Flatbed scanner at home, 600 DPI. Best balance of quality, control, and one-time cost.
- Cheapest
- A free smartphone scanning app. Fine for small batches you only plan to share.
- Easiest
- Smartphone app for tiny jobs. A mail-in service for anything larger you do not want to manage.
- Best quality
- Flatbed scanner at 600 DPI, archived as TIFF with JPEG copies for sharing.
- Best for large or mixed collections
- A mail-in digitizing service. DIY at thousands of items becomes a months-long project.
- When DIY stops being smart
- Inherited collection, mixed media (slides, tapes, negatives), a real deadline, or no time on weekends.
How to choose the right method
Pick the workflow first, the gear second. Four variables decide it: volume (how many photos), format (just prints, or also slides, negatives, and tapes), time (weekends to spare, or a deadline), and emotional weight (your own collection, or one that came with grief).
The matrix below covers the situations most families actually find themselves in. Read it as a routing chart, not a ranking.
| Your situation | Best fit | Why |
|---|---|---|
| Under 50 photos, want it done today | Smartphone scanning app | Free, fast, good enough for sharing |
| 50 to 500 prints, want real quality | Flatbed scanner at home | Sharper results, full control, low ongoing cost |
| 500 to several thousand prints | Mail-in service or batch scanner | DIY at this volume becomes a months-long project |
| Mixed media: prints, slides, tapes, film | Mail-in service that handles all formats | Single shipment, single archive, no extra equipment |
| Inherited collection from a parent or grandparent | Service is usually right; sit with a relative first if possible | Sentimental sorting is slow; a service compresses the work |
| You want full control and enjoy the process | DIY with a flatbed scanner | More patient, more rewarding, better long-term archive habits |
| Photos are at a relative's house and cannot leave | Smartphone scanning app | Capture in place, organize at home |
If the collection arrived as part of a parent's estate, the photo project sits inside a bigger one. The frameworks for that live in what to do with a deceased loved one's belongings and how to sort through a deceased person's belongings.
Best ways to digitize old photos at home
Three DIY paths cover almost every household project. The mistake most beginners make is forcing one method onto a collection that needs another. Here is what each is actually good at.
DIY method 1: smartphone scanning app
Phone scanning app
Best for: Small batches, quick captures, photos at a relative's house
Pros
- • Free or near-free, already in your pocket
- • Fast, no setup, no equipment
- • Good enough for sharing on phones and social
- • Perfect when photos cannot leave the room they are in
Cons
- • Quality varies with room lighting and steadiness
- • Glare and color shift on glossy prints
- • Lower resolution and color depth than a real scanner
- • Not suitable as the only copy of an irreplaceable photo
Bottom line: Use it for tiny jobs and for capturing photos in place. Do not rely on it as the archival solution for a collection you want to preserve for the next generation.
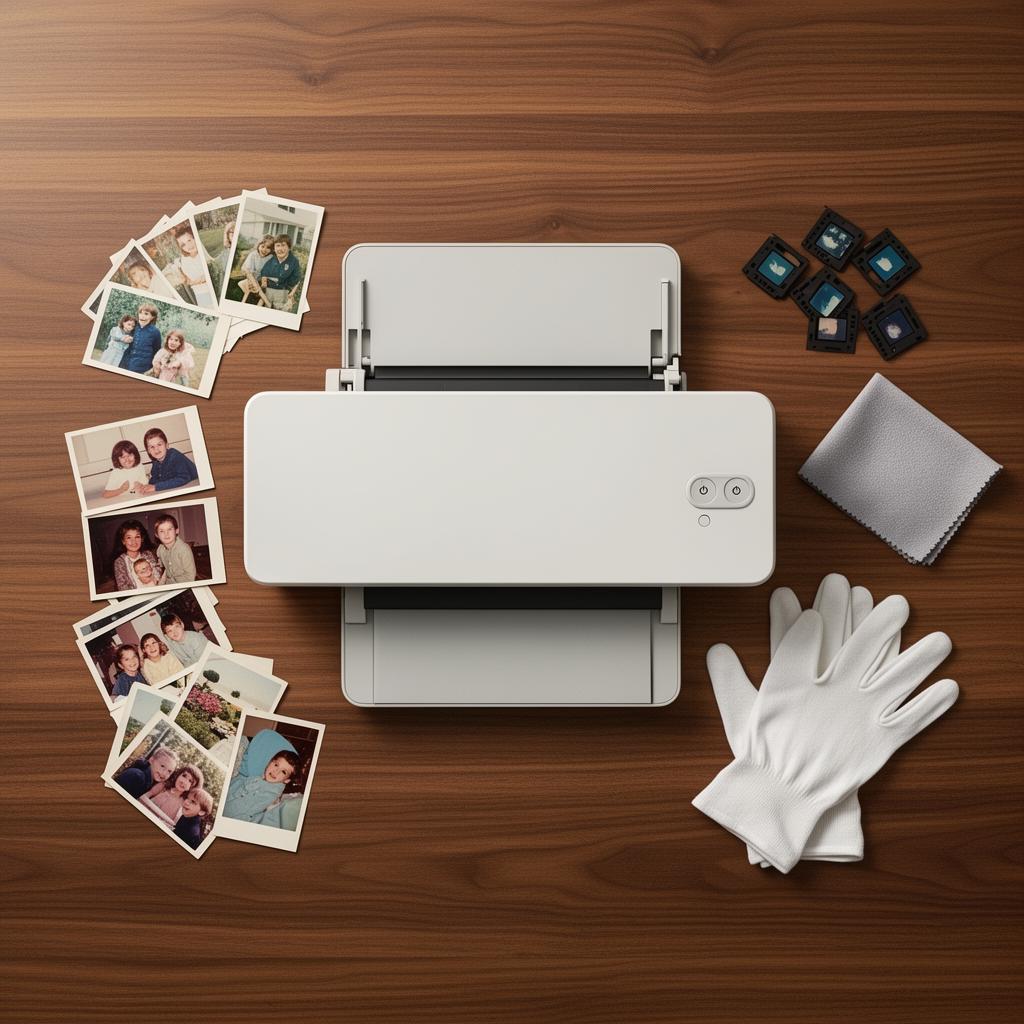
DIY method 2: flatbed scanner
Flatbed scanner
Best for: Loose prints, careful archival quality, control over every file
Pros
- • Consistent lighting, sharp results, accurate color
- • Scan multiple photos at once and split them in software
- • Reasonable one-time cost, lasts years
- • Best balance of quality and effort for most home collections
Cons
- • Slower than a sheet-fed scanner for large volumes
- • Photos in albums or stuck to pages need careful removal
- • Still a real time investment for large projects
Bottom line: The default recommendation for most careful DIY users. Pair it with a simple folder structure and you can build a real archive over a few weekends.
DIY method 3: camera copy setup
Camera copy stand
Best for: Photos still mounted in albums, large or oversized prints, users comfortable with a camera
Pros
- • Captures photos without removing them from albums
- • Handles very large or unusually shaped prints a flatbed cannot
- • Faster than a flatbed once the setup is dialed in
Cons
- • More setup: tripod, even lighting, careful framing
- • Color and sharpness depend on technique
- • Overkill for standard 4 by 6 prints you can lift out and scan
Bottom line: Worth it if a meaningful share of the collection is glued into albums or oversized. For everyone else, a flatbed scanner is simpler.
When a service is smarter than DIY
For curated projects under a few hundred prints, DIY is cheaper and usually more rewarding. There are five situations where it stops being the right call.
- •Very large collections. Once you cross several thousand photos, DIY becomes a months-long project. A service does it in weeks.
- •Mixed media. If the collection includes prints, slides, negatives, and tapes, a service that handles all of them in one workflow saves equipment, time, and confusion.
- •Inherited collections. Sorting a deceased relative's photos is slower than sorting your own. Every photo carries weight. Outsourcing the scanning lets the family focus on identification and shared decisions.
- •Short on time. If the project has a real deadline — a memorial, a milestone birthday, an estate distribution — a service buys back weekends.
- •You want a shared family archive from day one. Some services hand you back an online library the family can browse and contribute to, which is faster than building one yourself.
If a service is genuinely the right call for your collection, the cluster has the editorial work done already — full reviews, head-to-heads, and worth-it reads:
- • iMemories review
- • Is iMemories worth it?
- • iMemories cost
- • How does iMemories work?
- • Legacybox review
- • ScanMyPhotos review
- • iMemories vs Legacybox
- • iMemories vs ScanMyPhotos
- • iMemories vs DIY digitizing
- • ScanMyPhotos vs DIY digitizing
Ad · Affiliate
If a service is the right call
For mixed-media collections, large inherited archives, and anyone working against a real deadline, iMemories is the option we point readers to most often. Photos, slides, tapes, and film land inside a single shared online archive instead of three different DIY workflows.
Explore iMemoriesIndependent editorial. We may earn a commission if you purchase through this link.
How to organize old photos before digitizing
Sorting before scanning is the step most people skip and most people regret. A small amount of organization up front makes the digital archive useful instead of a 4,000-file folder no one ever opens.
A simple pre-scan workflow
- Group by family or decade. Even rough buckets help. Mom's side, Dad's side. 1970s, 1980s, 1990s. The goal is not perfection, just a starting structure.
- Label each group. A sticky note on a stack of prints or a slip of paper inside an envelope is enough. This becomes the folder name later.
- Pull duplicates. Most family collections have multiple copies of the same vacation photo. Keep the best one.
- Separate scan now from scan later. Some photos are clear keepers. Others need a conversation with a sibling or parent. Two piles: scan immediately, decide later.
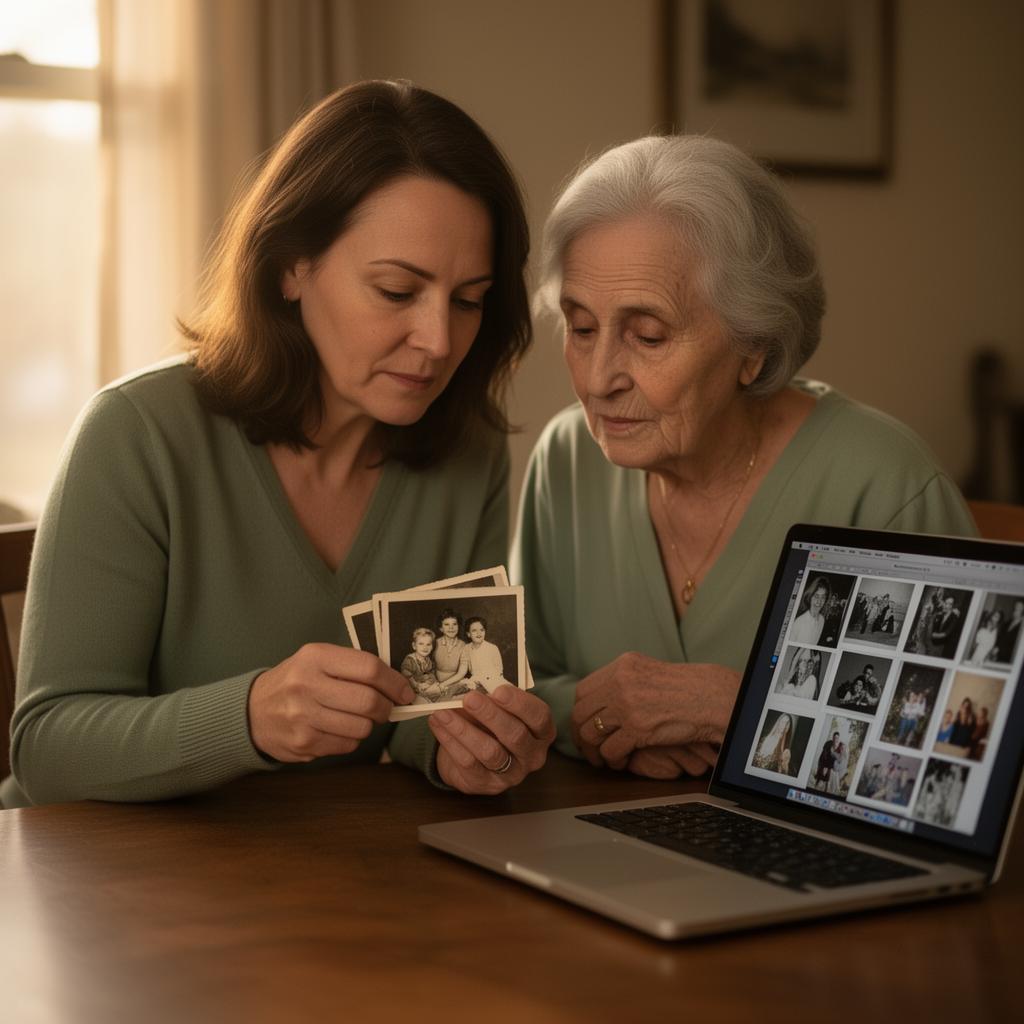
- Capture identifications while you can. If a parent or aunt is alive and willing, sit with them. Write down or record who is in each photo. This information disappears with people; the photos do not.
How to preserve, store, and back up old photos digitally
A digital archive is only as safe as its weakest copy. The single most common failure mode is one drive holding the only version of a family's photo history. The fix is not complicated.
The three-copy rule
- Copy 1 — your main computer. The working copy. Where you organize, tag, and edit.
- Copy 2 — an external drive. A second physical copy on a drive that lives in a different room or in a fire-safe spot.
- Copy 3 — cloud storage. A cloud backup that updates automatically. This is the copy that survives a flood, fire, or theft.
A few habits make the archive last decades instead of years:
- •Name files consistently. A simple pattern like
1978-08-mom-and-dad-anniversary.jpgbeatsIMG_4521.jpgten years from now. - •Use folders that match how the family thinks. By family branch, by decade, by event. Not by camera or import date.
- •Save a high-quality master and a smaller share copy. TIFF or full-quality JPEG for the master. Smaller JPEGs for sharing.
- •Share a folder with the family. A shared cloud folder lets siblings, children, and grandchildren view, contribute, and identify photos. The archive becomes resilient to any single person's drive failure.
- •Keep meaningful originals. Digital copies protect against loss, but the most meaningful prints often deserve archival storage. Decide as a family which originals to keep.
Digitizing an inherited family collection
Digitize before distributing originals. Once prints are split between three households, building a unified digital archive becomes much harder. Scan first, share digital copies with everyone, then distribute or dispose of originals by family agreement. The broader sorting framework lives in our guide on what to do with a deceased loved one's belongings, with practical follow-on guidance in what to keep from a deceased relative.
Budget more time than you expect. Sorting a deceased parent's photos is slower than sorting your own. Every photo triggers recognition and memory. Plan for two to three times the time a similar-sized stranger's collection would take.
Sit with a surviving parent, aunt, or uncle before starting. Photos you cannot identify today are often identifiable by one living relative. That knowledge disappears with them. Capture identifications in writing or audio before scanning.
Give the project an endpoint. Many families turn the digitized collection into a printed photo book or a slideshow shown at a one-year memorial. A clear endpoint keeps the project from becoming an open-ended archive that never feels done.
Special cases: albums, slides, negatives, and tapes
This guide focuses on prints because that is what most family collections are. A few formats need their own approach, and the cluster will keep expanding into dedicated child guides for each. In the meantime:
- Photo albums. If the prints lift out cleanly, a flatbed scanner is fine. If they are glued in or fragile, a camera copy setup or a service is safer than risking damage.
- 35mm slides and negatives. These need much higher scanning resolution than prints. A dedicated film scanner or a service is almost always the right call.
- VHS, Hi8, and home movies. These cannot wait. Magnetic tape degrades. A service is the practical answer for almost every family.
- Inherited mixed collections. A single service that handles everything is usually better than juggling three separate workflows.
For sorting through what came with the photos, the related guide on how to sort through a deceased person's belongings covers the framework most families use. If the wider home cleanout is part of the picture, see estate cleanout services near me.
Frequently asked questions
Editorial guidance on this page draws on:
- • Library of Congress — Digital Preservation guidance for personal archives
- • Smithsonian Institution — National Museum of American History photo preservation guidance
- • American Institute for Conservation — handling and storage of photographic materials
- • Editorial review of major U.S. consumer photo digitizing services
Related guides in this cluster
You May Also Find Helpful:
iMemories Review
A full editorial review of the broader guided service we point most readers to when DIY is not the right fit.
Read →iMemories vs DIY Digitizing
When a service is genuinely worth it and when DIY wins, with the tradeoffs laid out side by side.
Read →What to Do With a Deceased Loved One's Belongings
The broader framework for sorting a loved one's home, with the bucket system and emotional timeline most families are not warned about.
Read →How to Sort Through a Deceased Person's Belongings
The practical room-by-room walkthrough for working through what was left behind, including photos and paperwork.
Read →